


You may have seen this type of playhouse in your neighborhood before, but do you know how to build one? Follow these 10 steps and soon enough you'll be building a cubby house just like the ones that are on your block.
When you build a cubby house, it is important to make sure the materials are sturdy and safe for children. It's also very helpful if they can be recycled or reused in other forms. For example; used tires may not look like much but by using them as your base, you'll save time on digging up dirt plus have an added feature for your kids to play on.

Step One: choose a site that is flat and not near any electrical wires or gas lines.
Step Two: mark out the size of your cubby house using stakes and string, allowing enough room around it for walking space. The ground will need to be leveled before you can begin building.
Step Three: using a shovel, dig out the area to make room for your base. If you are using recycled tires as mentioned above, they will need to be stacked on top of each other in order to reach the desired height. Otherwise; use wood or bricks instead. Make sure that there is enough space between them so that no one will trip and fall.
Step Four: using a saw, cut down two slopes that are the same size as your cubby house's width. These will be used to form an incline which will create steps for you to enter your playhouse. Make sure not to make them too steep or they may become dangerous for children who try to climb or slide down them.
Step Five: using a saw, cut out three pieces of wood that are the same size as your cubby house's height and length. These will be used to form an incline which will create steps for you to enter your playhouse. Make sure not to make them too steep or they may become dangerous for children who try to climb or slide down them.
Step Six: attach your cubby house's frame at each end using a drill and screws, making sure that they are sturdy enough not to buckle in when someone is inside of it. It will be difficult if not impossible to add any other pieces until this step has been completed.
Step Seven: for the roof, cut out a piece of wood that is big enough to fit over your frame. Using two hinges and some screws attach it as well as attaching another piece on one end which will serve as an entrance or doorway into your cubby house. Make sure this door stays closed using either a pad lock if you're afraid of someone trying to break in, or a simple latch.

Step Eight: using your paintbrush and the vast array of colors available at any hardware store, decorate your cubby house however you please! This step is completely up to you because the possibilities are endless when it comes to color combinations and designs that can be painted onto this type of playhouse.
Step Nine: using hinges and a latch, attach the roof to the cubby house's frame on one end. You can also add walls by attaching pieces that are cut from your remaining wood onto each side of where you will be entering your cubby house. These parts should have been attached at their bottom ends when you first built your frame.
Step Ten: mow the grass around your cubby house to keep it looking neat and tidy. And voila, you're done! Time to enjoy having a fun new playhouse for all of your children to play on during those hot summer days or cold winter nights. You can even decorate them with Christmas lights and use the cubby house as a temporary shelter on Christmas Eve for Santa Claus to come down your chimney!
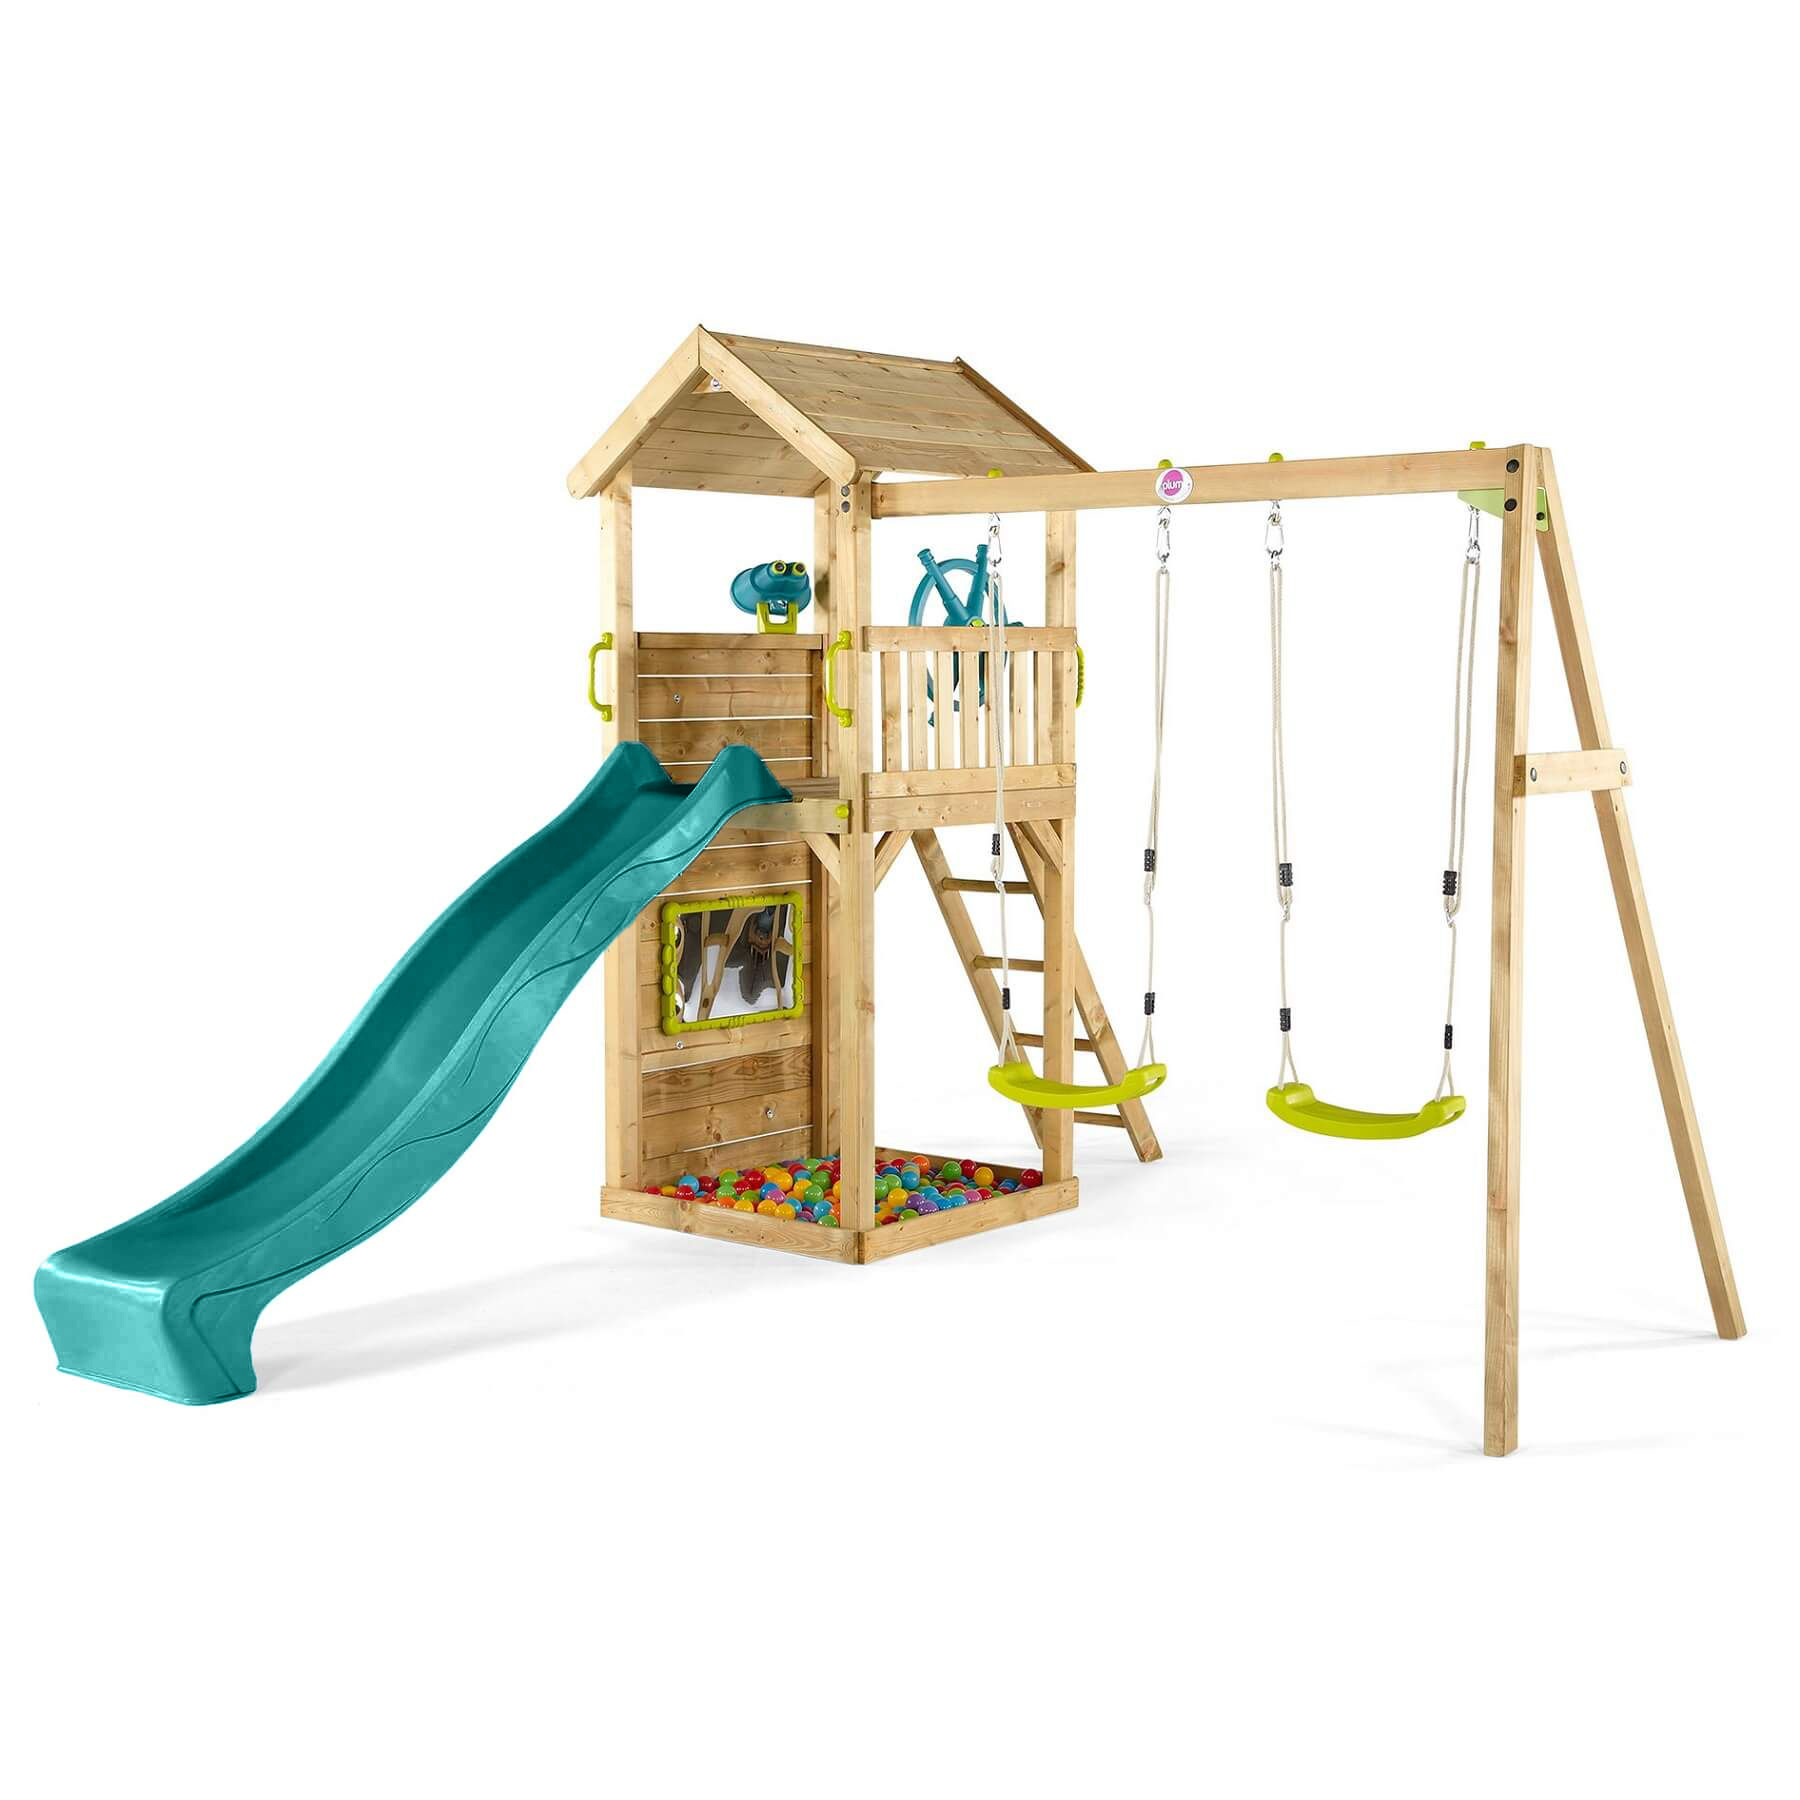
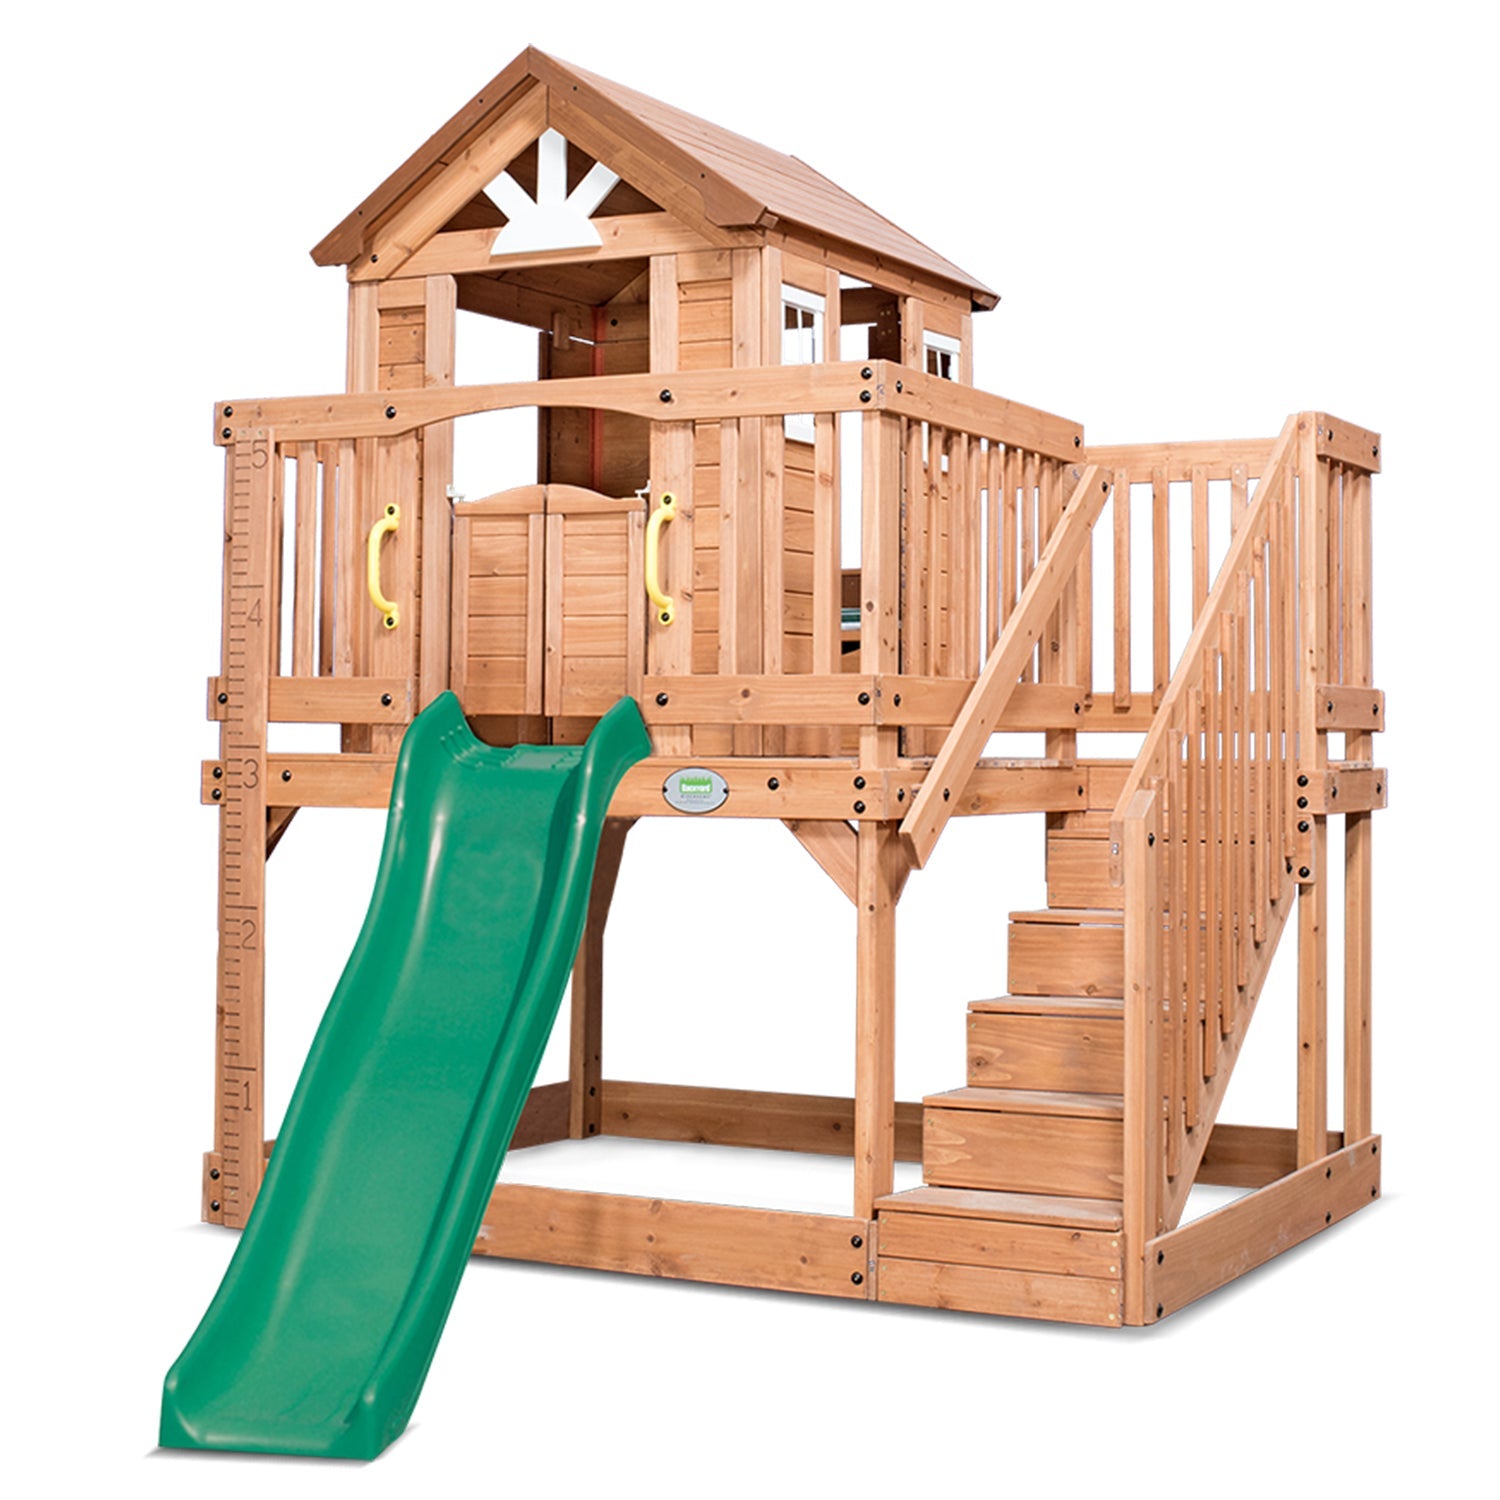
In summary, building a cubby house sometimes can be quite challenging. If you are looking for an easy to build great quality cubby house, have a look at our collection here